43 how to build a kitchen hutch
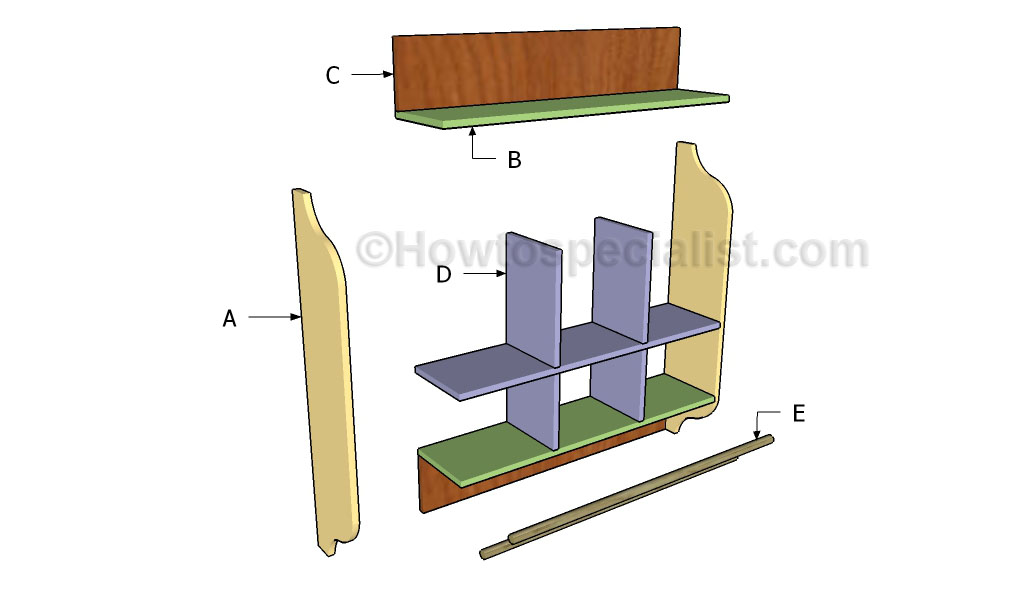
Using Dixie Belle Mud, I filled in the holes and indentations on the coffee table top. Similar to spackle, you spread it on and sand it down after dry. I repeated a few times. Follow along here and see how I ended up revamping the hutch. THE HUTCH REVAMP. Bottom - equal to width of the finished box minus 2 times the thickness of the sides (2 x 5/8"= 1 ¼"). Top rails - same width as bottom and 4 inches wide. Back - same width as bottom and tops pieces, height equal to sides less 2 x width of the top and bottom pieces. Step 2:
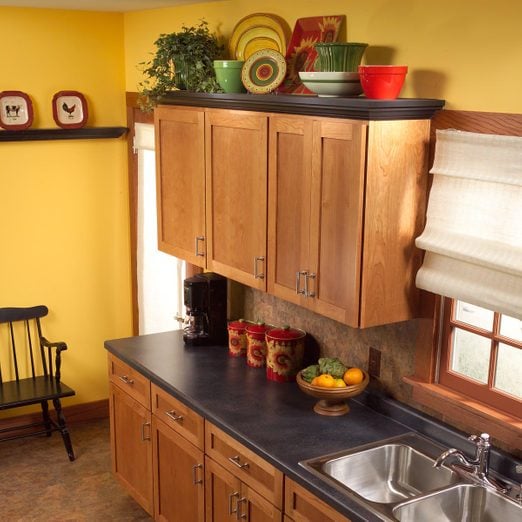
A kitchen hutch can be a fantastic addition to any kitchen or dining room, adding additional working space, organizational features, and convenience. Hutches allow for the display of your dishes in an aesthetically pleasing way, and building your own hutch allows you to choose materials and shapes that perfectly suit the space available and the look that you envision.
How to build a kitchen hutch
To start off, you require plywood strips for the sides, shelves and base support, 1×2 plywood strips for the face frames, 1 ¼ inch pocket screw holes, ¾ inch nails and drawer slides. Base drawer cabinets, unlike shelves, are so useful because they neatly conceal your kitchen utilities. For an easy DIY kitchen cabinet upgrade, switch out your old hardware for newer pieces! Installing cabinet hardware can add contrast to a room or pull your new look together. There are a variety of hardware options to choose from, including pulls and knobs. For a space-saving kitchen solution, remove cabinet hardware to make the area look less cluttered.When choosing kitchen cabinet hardware ... How to Build DIY Kitchen Cabinets. Every project is different and some situations call for creativity in order to "Make it work". Sometimes I can build fast and easy and other times I have to spend more time on a specialized project because the situation calls for it.
How to build a kitchen hutch. Building your own kitchen cabinets is only a feasible plan if you have plenty of time, a shop full of tools, and intermediate woodworking skills. While building your own cabinets saves about 66%, the cost of tools and time eats into this significantly for someone who is not an experienced woodworker. 5. From A Thrifted Wall Unit to A Kitchen Hutch. Believe it or not, applying a good coat would be just excellent for an old piece of furniture. Think of providing your weekend time for a kitchen hutch makeover to turn your thrift wall unit into stunning cabinetry. This idea is available for DIY projects. Here are the materials you'll need to build a pantry cabinet, sanded cabinet plywood, wood screws, wood glue, screen molding, some pieces of plywood for the back panel, and other supplies. The tools used are a drill driver, table saw, circular saw, a jigsaw, clamps, level, brush applicator, finish nailer, and a combination square. Join the base panels to the bottom. Align and glue the base panels so that one flat face is flush with the back edge of the panel and the other is 3" back from the front end. Then, using butt joints, screw through the cabinet base and into the edge of the panels. Pilot holes are a good idea here. 8 Join the sides to the bottom.
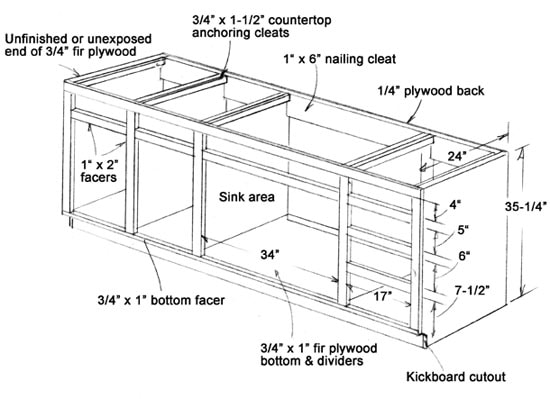
Easy.To-BuiU KITCHEN CABINETS for the REMODELED FARMHOUSE These easy-to-build kitchen cabinets are especially suitable for remodeling kitchens where continuous work areas cannot be used, but they are suitable for new as well as remodeled kitchens. The cabinets include eight different units, each designed to serve a specific need: Assign a corner inside the kitchen or dining room for installing the hutch. Select the area based on your convenience, so that you have ample of space to move about while working. Take a rectangular-shaped frame of furring strips and place it in the corner, in order to provide the framing. Attach front 2×3 to top and bottom using same construction screws using toenail method. (Step 5). Attach vertical 2×3's to corners and center of front boards. (Step 6). Attach horizontal supports between rear 2×3 to front 2×3 for both top and bottom sections (labeled as "front to rear bracing" in diagram above). (Step 7.) How to Install Kitchen Cabinets Step 5: Base cabinets: Make plumbing and electrical cutouts. Kitchen Floor Cabinets Photo 7: Cut plumbing openings. Lay out plumbing and electrical openings on the cabinet back, using the layout lines on the wall as reference points. Then drill and/or saw out the openings.
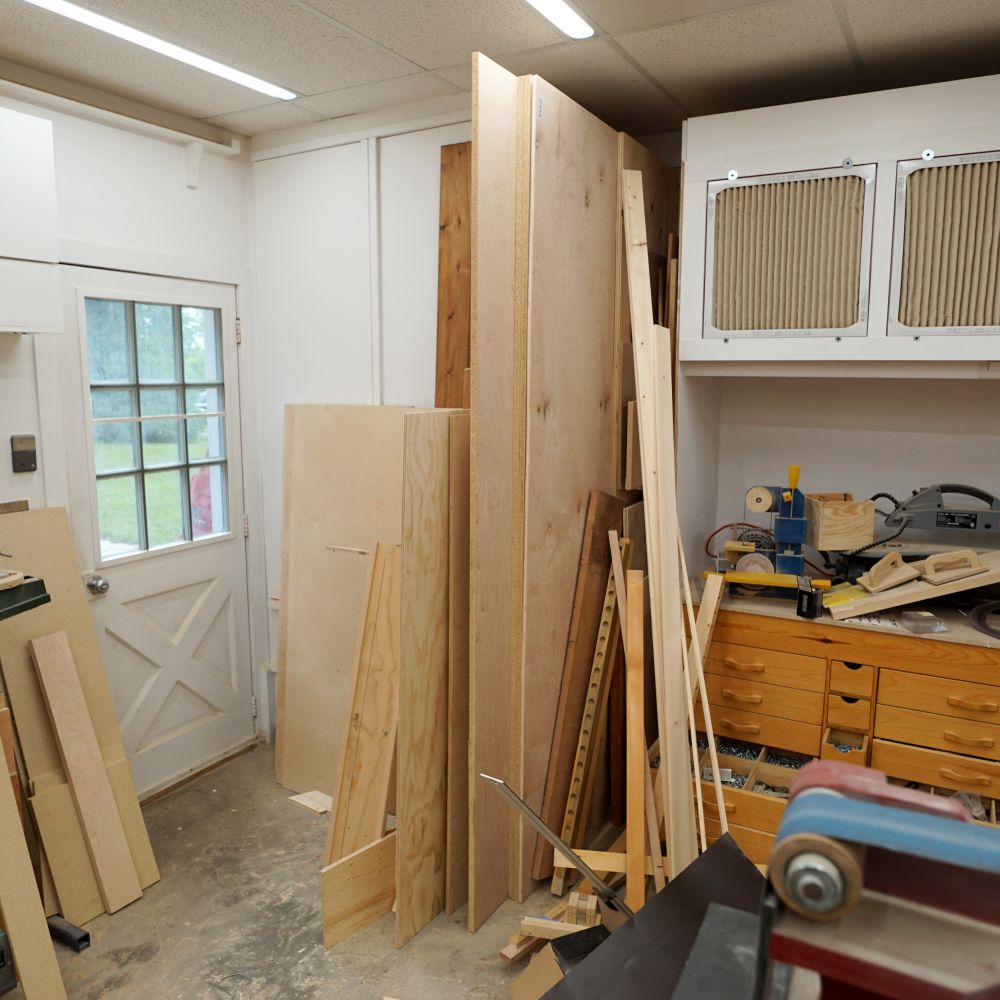
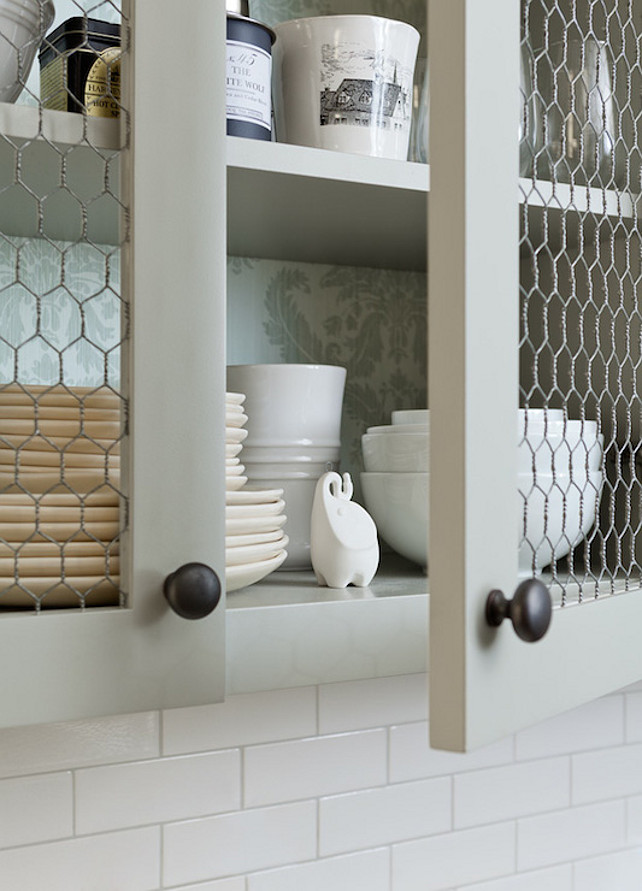
13. Plywood Upper Cabinets. If you are looking for an inexpensive way to build some upper kitchen cabinets, then you might want to consider these. The reason is because they are constructed of plywood. Plywood is usually an inexpensive building material, and the cabinets are beautiful in my opinion. Cut the depth of the dado to approximately half of the thickness of the wood (1/4 inch for ½ inch material). Make the cut identical on mirrored sides of the other panel so that the bottom fits in tightly and so that it is level. 3. Preparing Your Drawer Box (es) Traditionally, drawer boxes are created using dovetail joinery. China Hutch for a Formal Kitchen. Make your china hutch the focal point of the kitchen with ornate detail and beautiful glass doors. Use wide drawers for storing linens and tablecloths, while adding a beautiful visual element. The arching design found on the glass doors adds an elegance offset by a graceful chandelier. Simply take the overall width you want your cabinet box to be and subtract 1 ½″. That is the length you need to trim your bottom panel and top support pieces. . In my case, 24 ¼″ - 1 ½″ = 22 ¾″. I cut 3 top supports to the same length as my bottom panel (in my case, 22 ¾″ long) for each base cabinet.
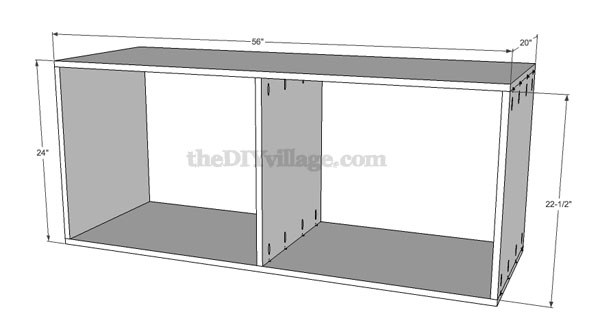
Building A Corner Cabinet for the Kitchen - IBUILDIT.CA
Also, when building standard kitchen height base cabinets, you can get 6 sides out of one 4×8 sheet of plywood if you build the cabinets with the 2×4 base. So it can be a great way to save money and use less plywood. If you are just building a couple cabinets, or a bathroom vanity, this might not be a cost effective or easier option.
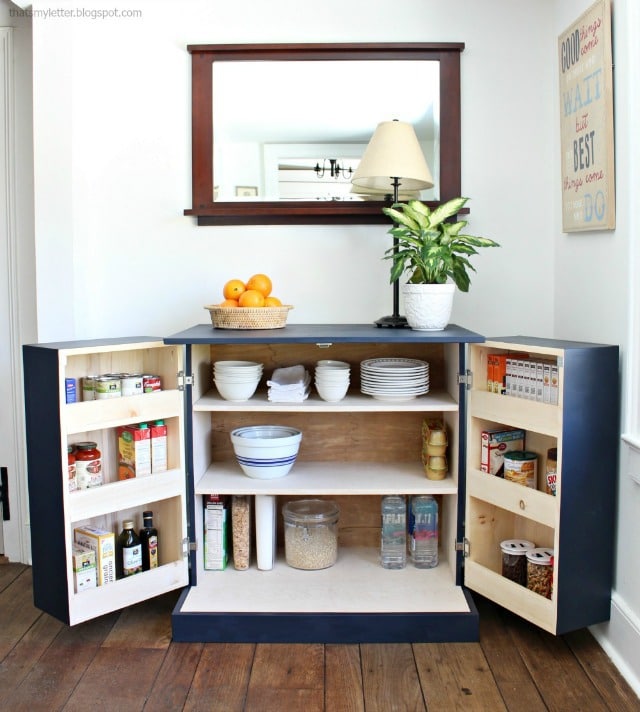
DIY Freestanding Kitchen Pantry Cabinet - Jaime Costiglio
Hopefully it will be of some use to those who are looking to build cabinets and are looking for a reliable method. The cabinets I am building in this instructable are bathroom vanities. The same construction methods can be used for kitchen cabinets as the only difference between them and kitchen cabinets are the height and depth.

The $ 75 Farmhouse Hutch - Easy DIY Project
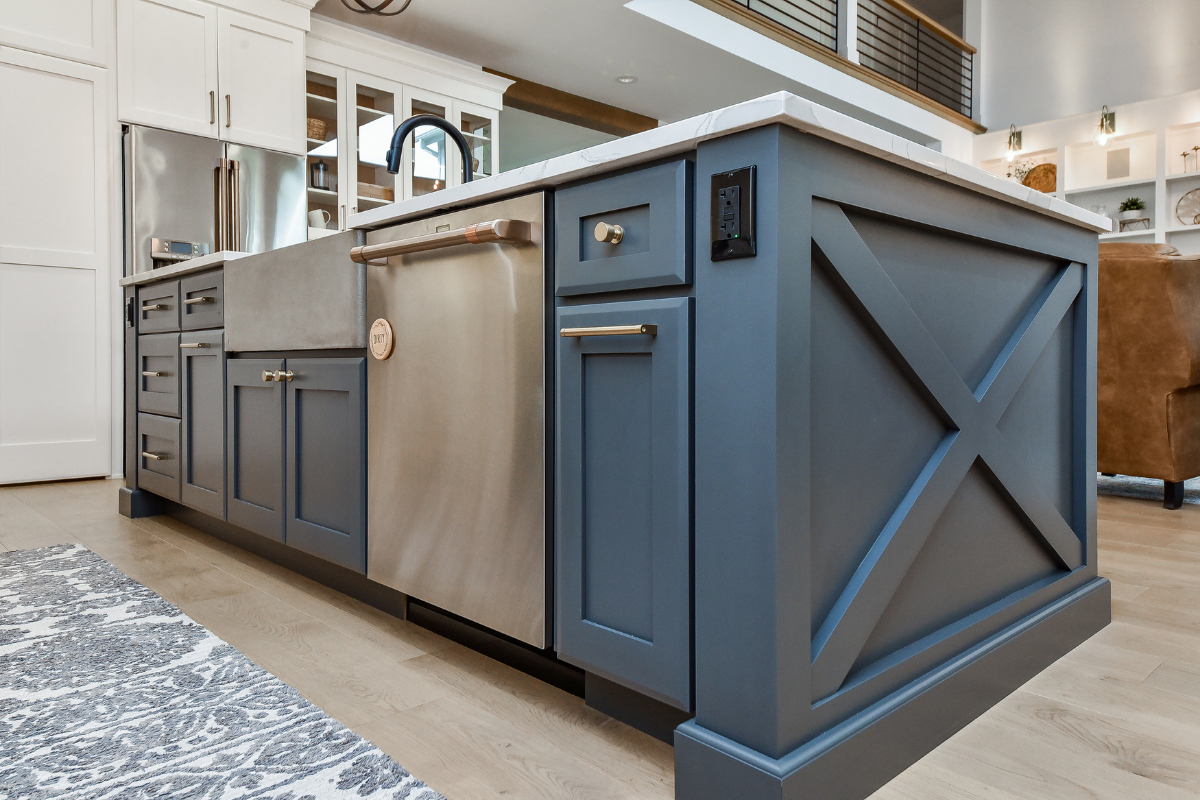
Standard kitchen base cabinets are 24 inches deep, so that means you need 108 inches of width within your room to make a kitchen island out of base cabinets with a standard walkway of 42 inches (add another 12 inches if you want to add seating to one side for a grand total of 120 inches needed within your kitchen).
21 DIY Kitchen Cabinets Ideas & Plans That Are Easy & Cheap ...
Set 1 of your side pieces up on your work table and push the back edge of the bottom piece next to it so they form a 90-degree angle. Use a wood stapler or hammer in nails to temporarily tack the pieces together. Then, repeat this with the other side piece. You can also ask a friend to help you keep the pieces in place as you tack them.
Build a Pantry Part 1 (Pantry Cabinet Plans Included!) - The ...
Cut the pieces square using a fine-toothed blade in a radial arm saw. Glue in place and fasten with No. 6 finish nails into the case-bottom edge. Use No. 8 finish nails through the side facings into the sides to further secure in place. Cut the top facing in the same manner, ripping to width, and then cutting to length.
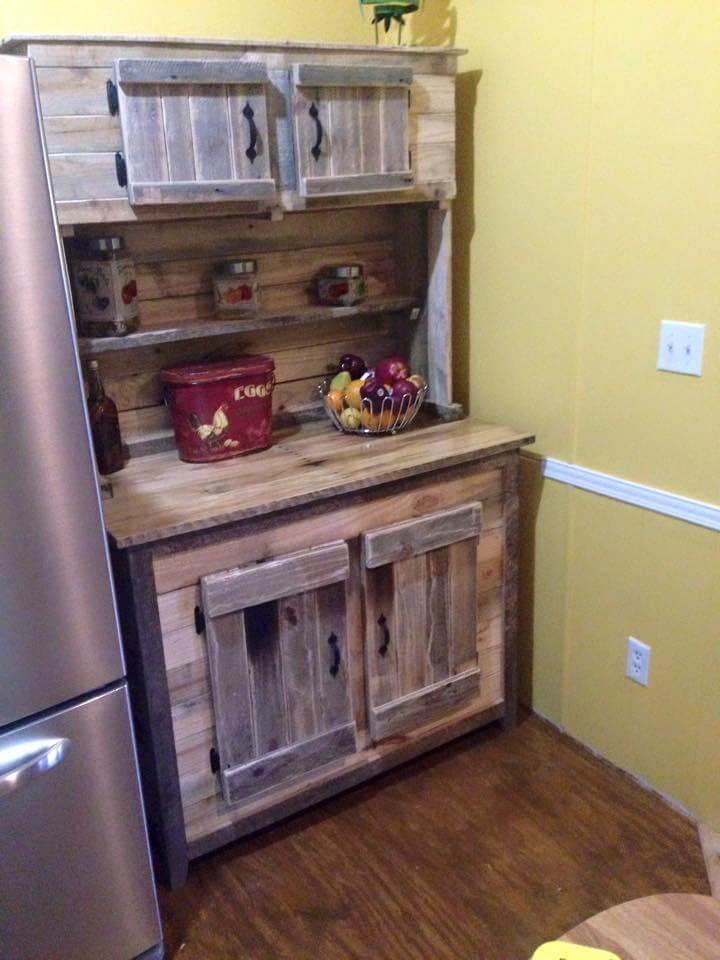
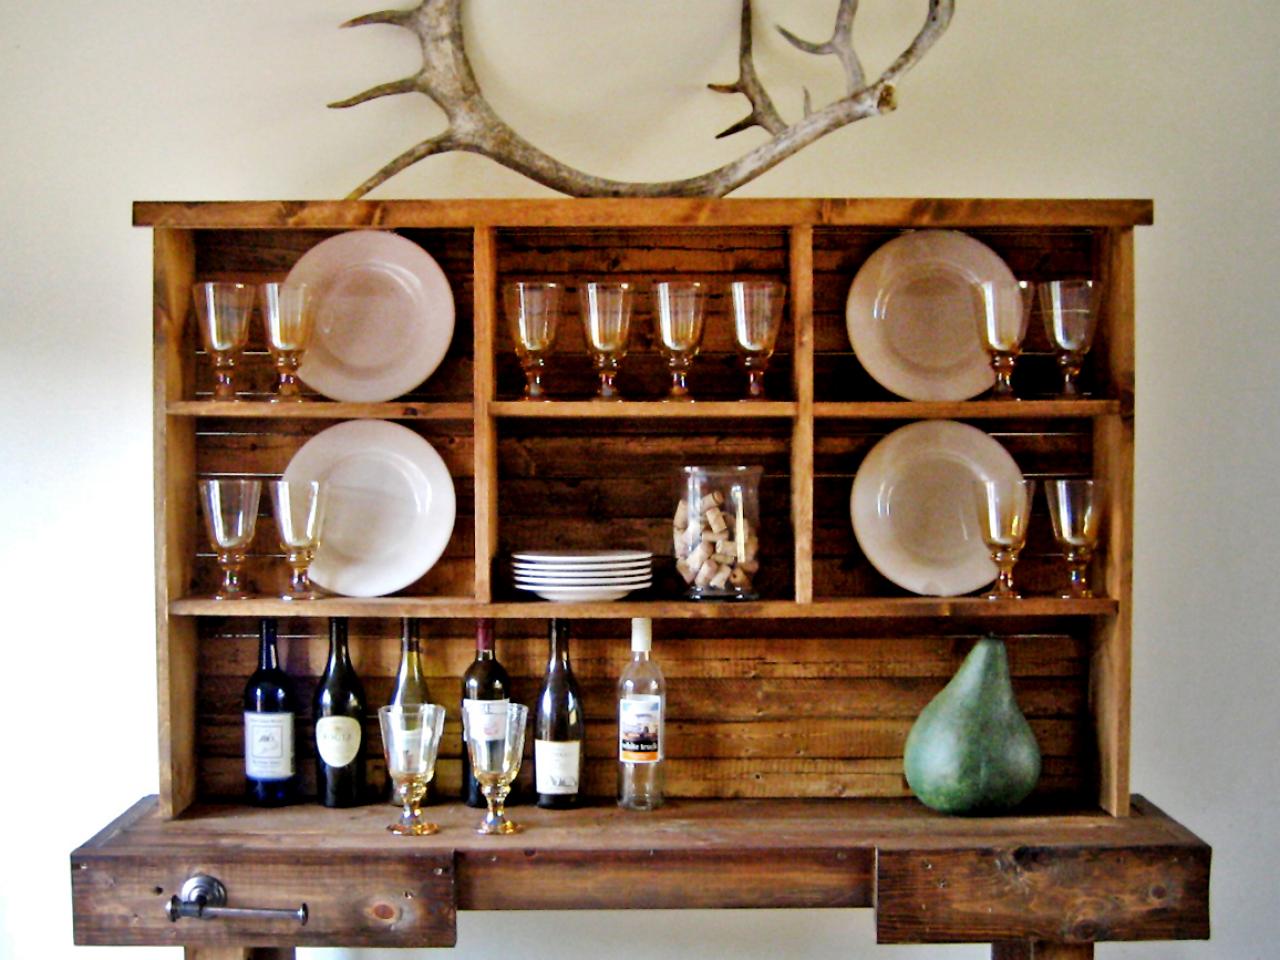
Kitchen Hutch Made From Pallets - Easy Pallet Ideas
Even a novice woodworker is capable of building their own kitchen cabinets. Cabinetry is relatively easy to build if you have a good table saw and a few basi...
10 Fabulous Repurposing Ideas For Old Kitchen Cabinets - DIY ...
This is a comprehensive video that gets into great detail on what is required to make kitchen cabinets including different styles of cabinet (face frame and ...

The easiest ever DIY Hutch Makeover Using Chalk Paint
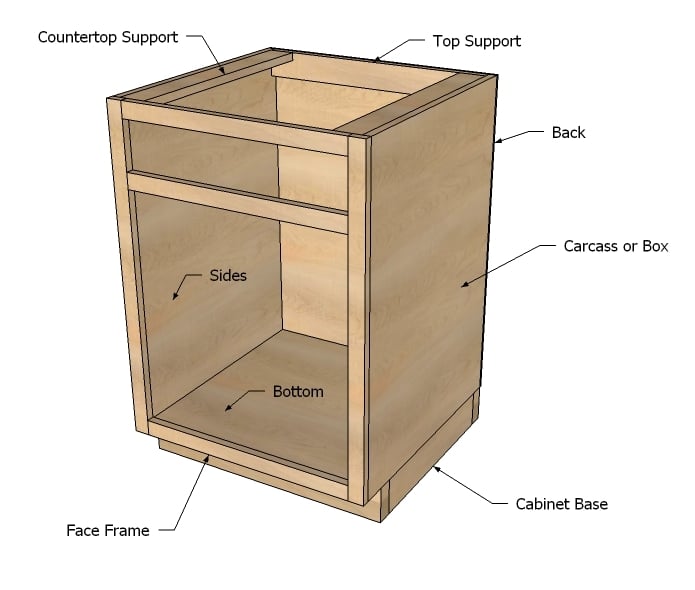
A cabinet box, also called a carcass, is made up of sides, a top, a bottom, shelves and a back. The sides, tops and bottoms can be made from either 1/2" or 3/4" sheet goods. These can be veneered plywood, veneered mdf (medium density fiberboard) or melamine coated particle board. Detailed cabinet box instructions Face frames
Free DIY Furniture Plans to Build a PB Inspired Clara Hutch ...
Start by ripping two side pieces to the cabinet depth (minus the frame thickness); then cut them to length. Label them left and right with pencil marks on the inside faces. Now subtract the thickness of the back from your fence setting, and cut the bottom panel to width. Then cut the bottom to length.
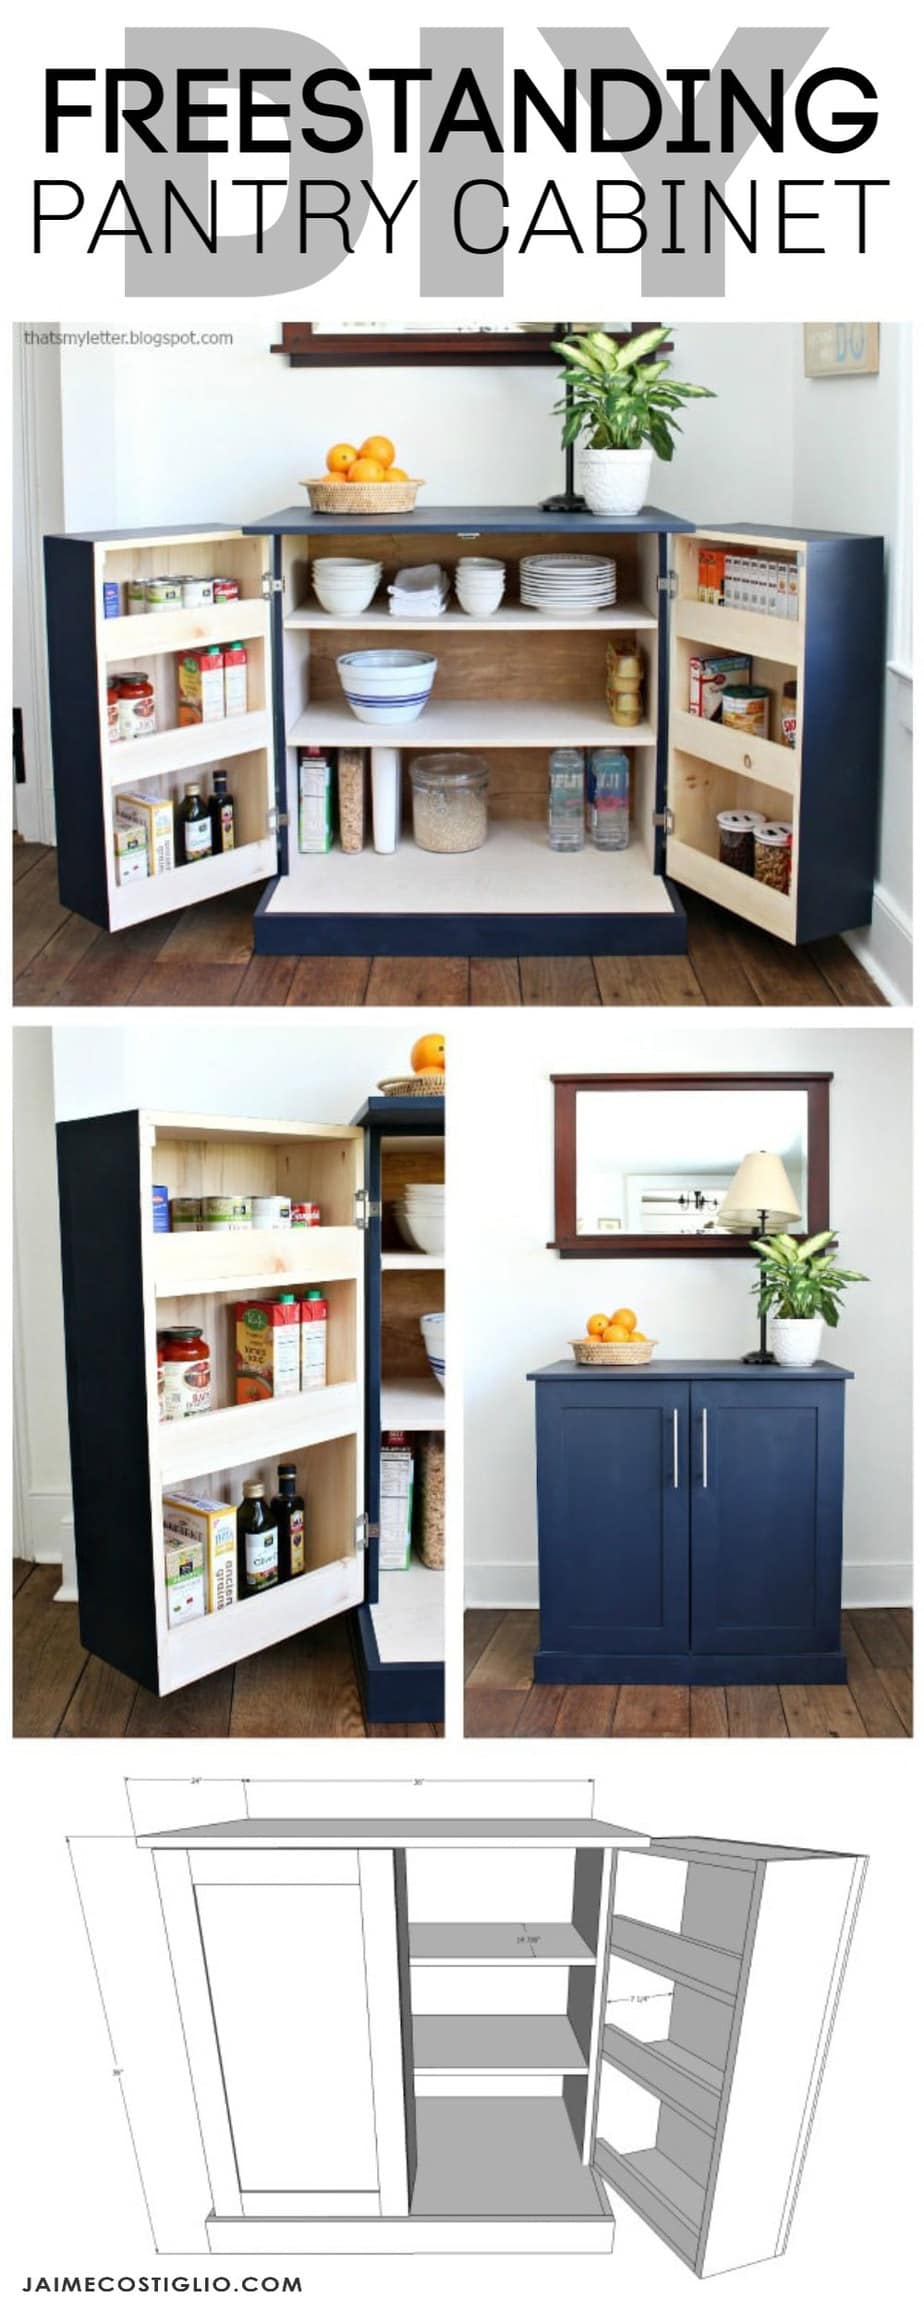
DIY Freestanding Kitchen Pantry Cabinet - Jaime Costiglio
How to Build DIY Kitchen Cabinets. Every project is different and some situations call for creativity in order to "Make it work". Sometimes I can build fast and easy and other times I have to spend more time on a specialized project because the situation calls for it.

DIY Storage Cabinet - DIY Huntress
For an easy DIY kitchen cabinet upgrade, switch out your old hardware for newer pieces! Installing cabinet hardware can add contrast to a room or pull your new look together. There are a variety of hardware options to choose from, including pulls and knobs. For a space-saving kitchen solution, remove cabinet hardware to make the area look less cluttered.When choosing kitchen cabinet hardware ...
DIY Cabinet Making - Your Guide on How to Build A Cabinet
To start off, you require plywood strips for the sides, shelves and base support, 1×2 plywood strips for the face frames, 1 ¼ inch pocket screw holes, ¾ inch nails and drawer slides. Base drawer cabinets, unlike shelves, are so useful because they neatly conceal your kitchen utilities.
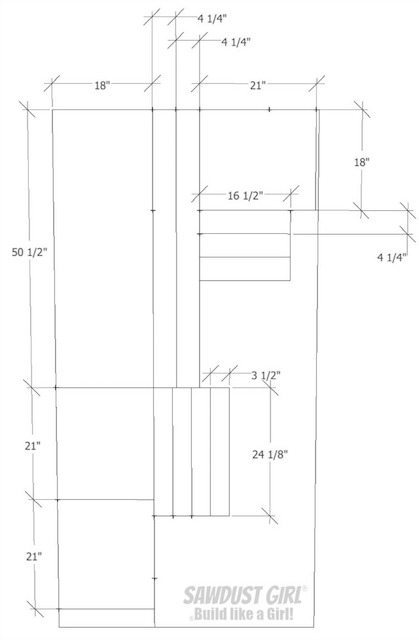
Plans for China Cabinet Base - Sawdust Girl®

DIY Kitchen Cabinets for Under $200 - A Beginner's Tutorial
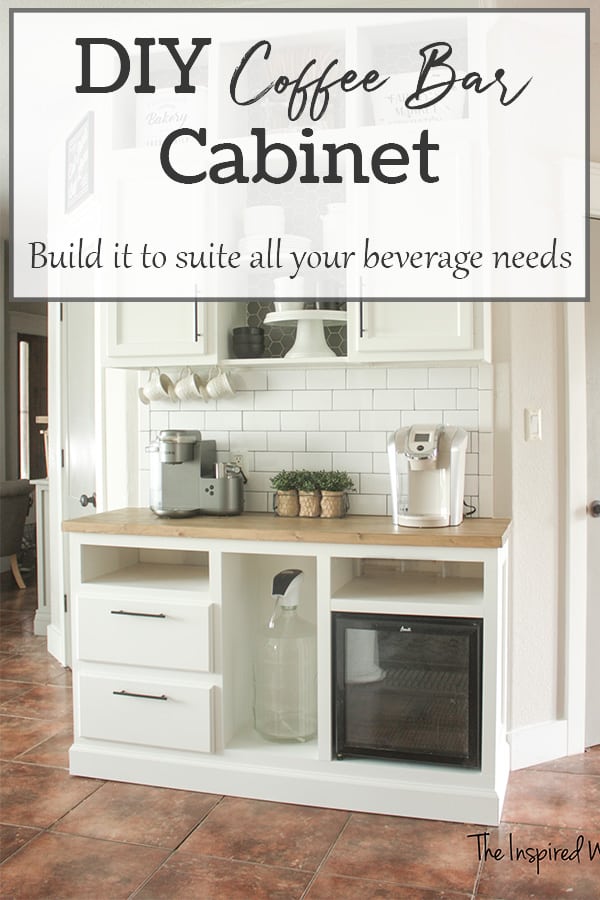
DIY Coffee Bar Cabinet - Kitchen Renovation – The Inspired ...
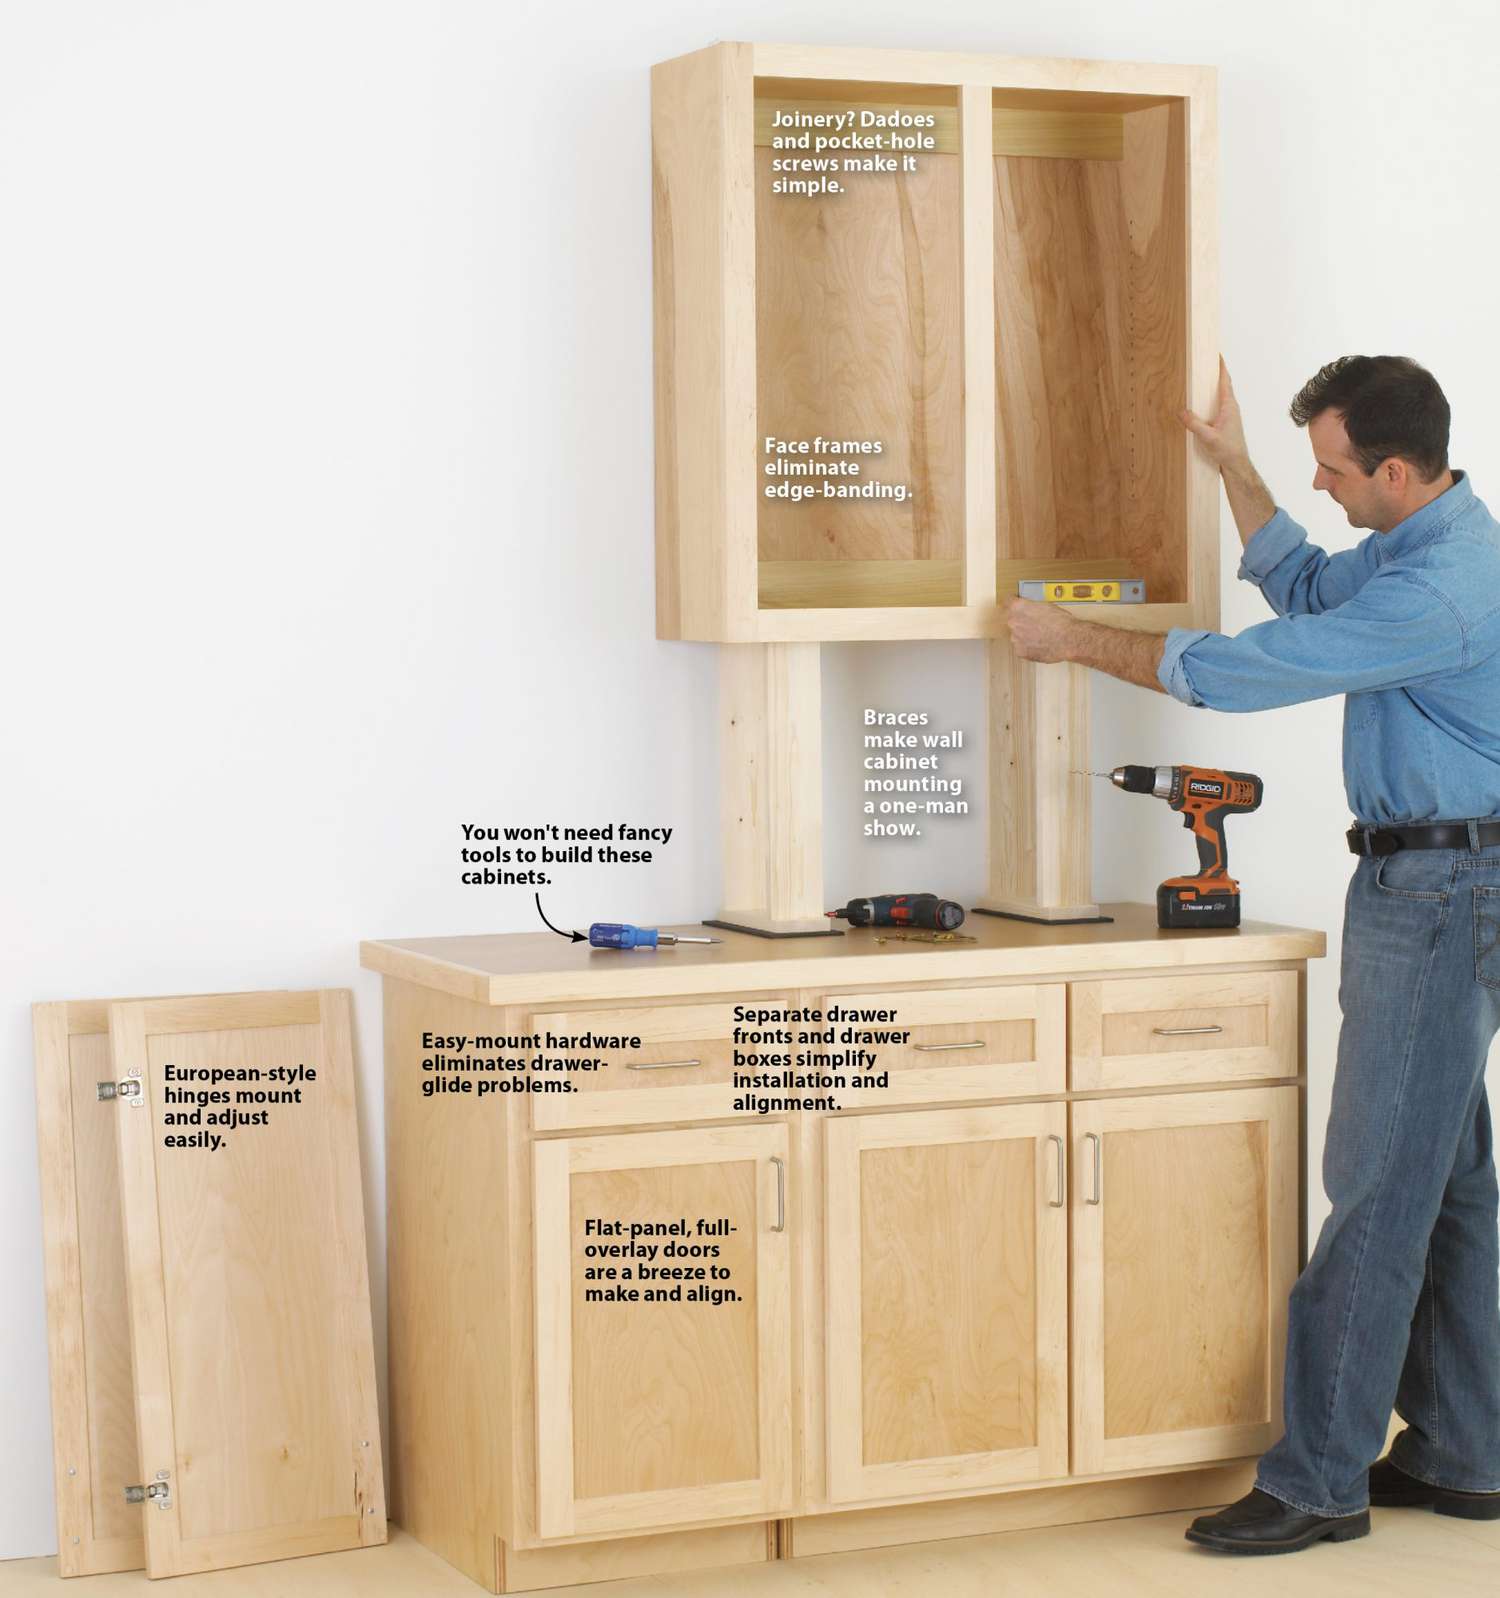
11 must-have cabinetmaking tools | Wood

Flickr Pool: Sweet Kitchen Hutch | Toolmonger

Make a Farmhouse Style Hutch : 14 Steps (with Pictures ...

How to Make DIY Cabinet Doors --{Without Fancy Router Bits}
How to Add Shelves Above Kitchen Cabinets (DIY) | Family Handyman
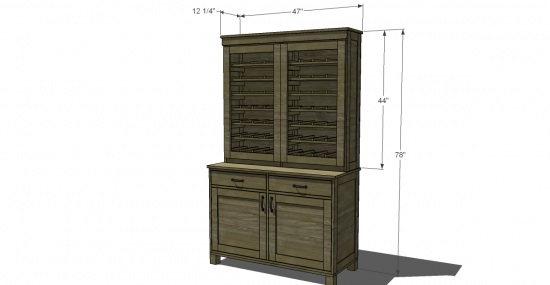
How to build a kitchen hutch | HowToSpecialist - How to Build ...

Create a Baking Cabinet

Hoosier Cabinet Plans - Mother Earth News | The Original ...
Kitchen Base Cabinets 101 | Ana White
Kreg Tool | Innovative Solutions for All of Your Woodworking ...

36 Inspiring DIY Kitchen Cabinets Ideas & Projects You Can ...
22 DIY Pantry Cabinet Plans: How To Build A Pantry Cabinet

China Cabinet Hack to Kitchen Island and Pantry - Interior ...
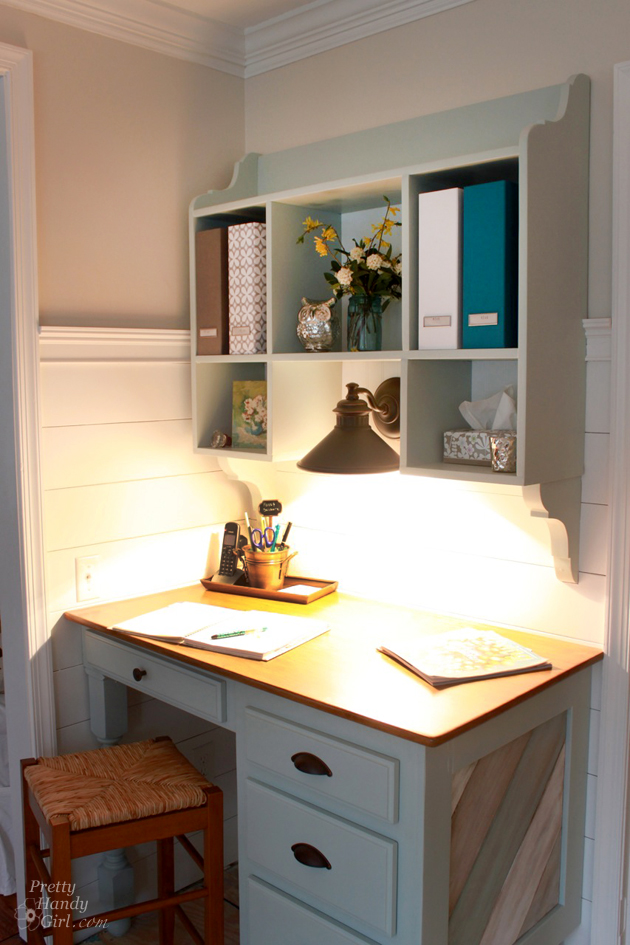
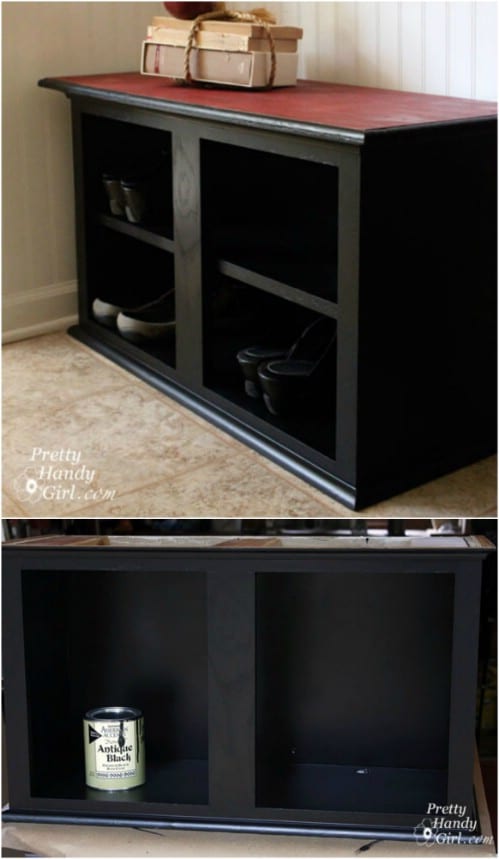
Wall-Mounted Kitchen Hutch Tutorial - Pretty Handy Girl

Instant Rustic Storage and Style With a DIY Hutch | HGTV

12 Money Saving DIY Cabinets for the Easiest Remodels Ever ...

DIY Pallet Kitchen Hutch - Easy Pallet Ideas
Instant Rustic Storage and Style With a DIY Hutch | HGTV
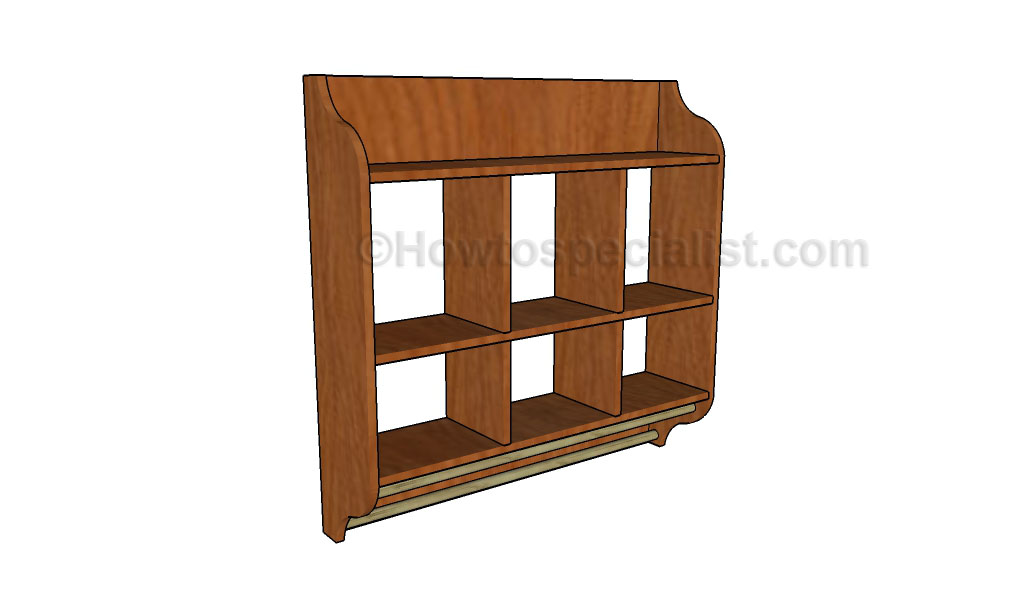
How to build a kitchen hutch | HowToSpecialist - How to Build ...

How to Make DIY Cabinet Doors --{Without Fancy Router Bits}
11 Top Trends in Kitchen Cabinetry Design for 2022 - Sebring ...
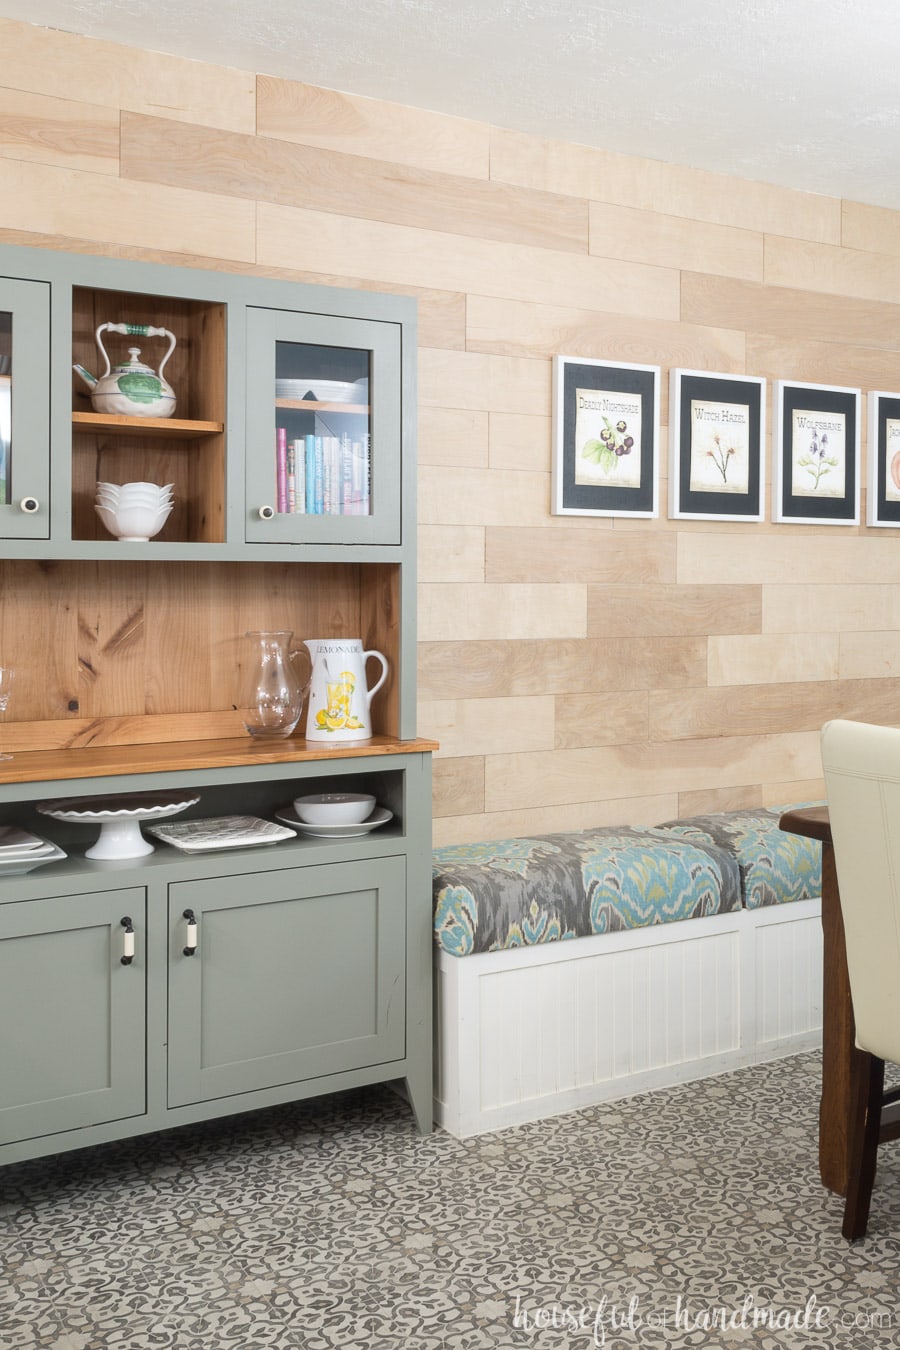
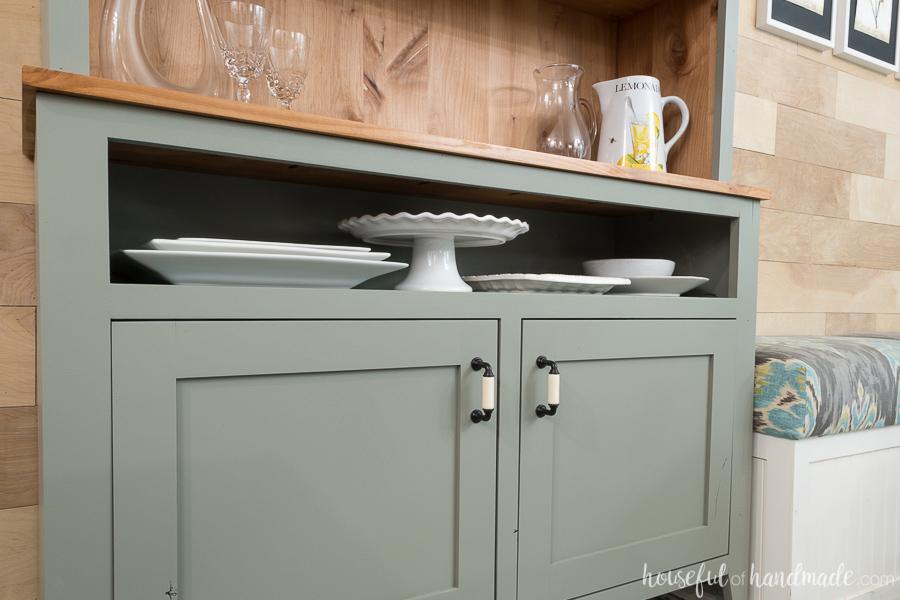
Dining Room Hutch Build Plans - Houseful of Handmade

Classic Country Hutch | Woodworking Project | Woodsmith Plans

DIY - Inside Cabinet Plate Rack - Remodelando la Casa

Follow The Yellow Brick Home - Dreamy Kitchen Built-Ins ...

Outdated Hutch to Coffee Bar - DIY Beautify - Creating Beauty ...
Kreg Tool | Innovative Solutions for All of Your Woodworking ...

Dining Room Hutch Build Plans - Houseful of Handmade
0 Response to "43 how to build a kitchen hutch"
Post a Comment